[level-membership-for-radiology-category]Chapter 7
Bony Thorax
 Oblique sternum (R)
 Lateral sternum (R)
 Oblique and lateral sternum critique
 Sternoclavicular joints, PA and obliques (R)
 PA and obliques—SC joints critique
 AP or PA ribs—above diaphragm (R)
 AP ribs—below diaphragm (R)
 AP or PA ribs critique
 Anterior oblique ribs—PA (R)
 Posterior oblique ribs—AP (R)
 Ribs—oblique above and below diaphragm critique
Bony Thorax—Positioning Considerations
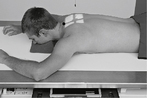
Right Anterior Oblique (RAO) Sternum*

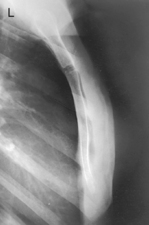
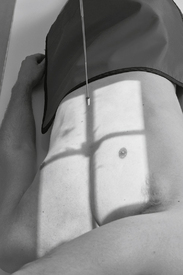
Lateral Sternum*

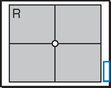
• 24 × 30 cm L.W. (10 × 12″) or 30 × 35 cm (11 × 14″)
• Place lead blocker anterior to sternum (for recumbent position)

Lateral Sternum

Sternoclavicular Joints PA and Anterior Oblique Projections*

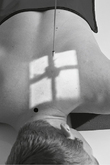
Sternoclavicular (SC) Joints—PA
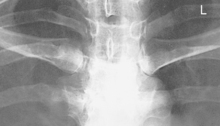

SC Joints—Anterior Oblique

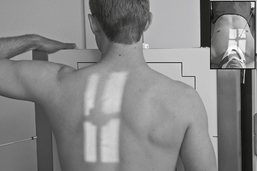
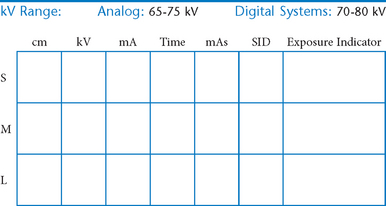
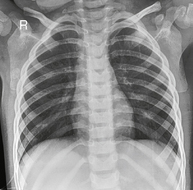
AP or PA (Bilateral) Ribs—Above Diaphragm*
Generally taken as AP for posterior ribs and PA for anterior ribs.


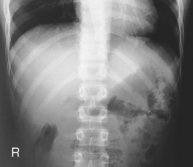
AP Ribs (Bilateral)—Below Diaphragm*


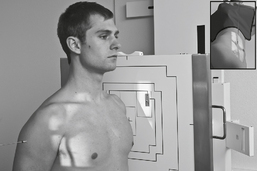
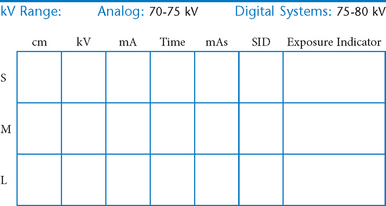
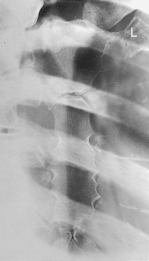
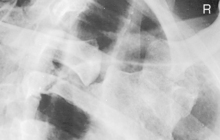
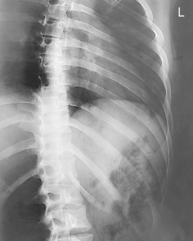
Anterior Oblique Upper Axillary Ribs—RAO*
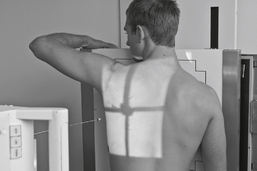
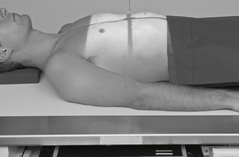
Fig. 7-13 45° RAO above diaphragm—bilateral, right anterior injury (to shift spine away from injury).
Position
• Erect, or recumbent if needed (erect preferred)
• Oblique 45°, rotate spine away from area of interest
• Involved region of thorax is centered to IR with top of IR ≈4 cm (1.5″) above shoulders
Posterior Oblique Lower Axillary Ribs—LPO*

Anterior or Posterior Oblique Axillary Ribs


*Bontrager Textbook, 8th ed, p. 362.
*Bontrager Textbook, 8th ed, p. 363.
*Bontrager Textbook, 8th ed, pp. 364 and 365.
*Bontrager Textbook, 8th ed, pp. 366 and 368.
*Bontrager Textbook, 8th ed, pp. 366 and 368.
[/level-membership-for-radiology-category][not-level-membership-for-radiology-category]Chapter 7
Bony Thorax
Bony Thorax—Positioning Considerations
Right Anterior Oblique (RAO) Sternum*
Lateral Sternum*
• 24 × 30 cm L.W. (10 × 12″) or 30 × 35 cm (11 × 14″)
• Place lead blocker anterior to sternum (for recumbent position)
