CHAPTER 25 Video-Assisted Thymectomy—Video 25
 Video-Assisted Thymectomy (Video 25)
Step 1. Placement of Three Ports
♦ Position the patient supine with the arms over the head and an I-roll behind the patient (i.e., vertically behind the spine, horizontally behind the shoulders, and horizontally behind the hips) (Figure 25-1)


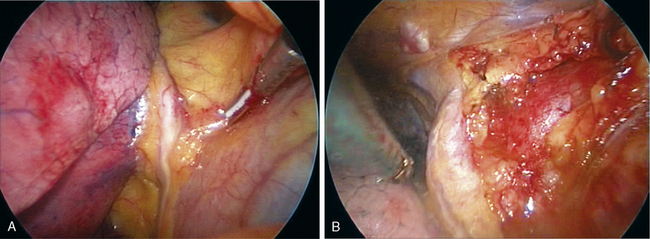
Step 2. Initial Dissection
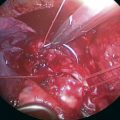
♦ A grasper through incision 3 lifts the pleura anterior to the phrenic nerve. The Harmonic scalpel opens the mediastinal pleura parallel to the right phrenic nerve pedicle and approximately 2 mm anterior to it (Figure 25-2A).
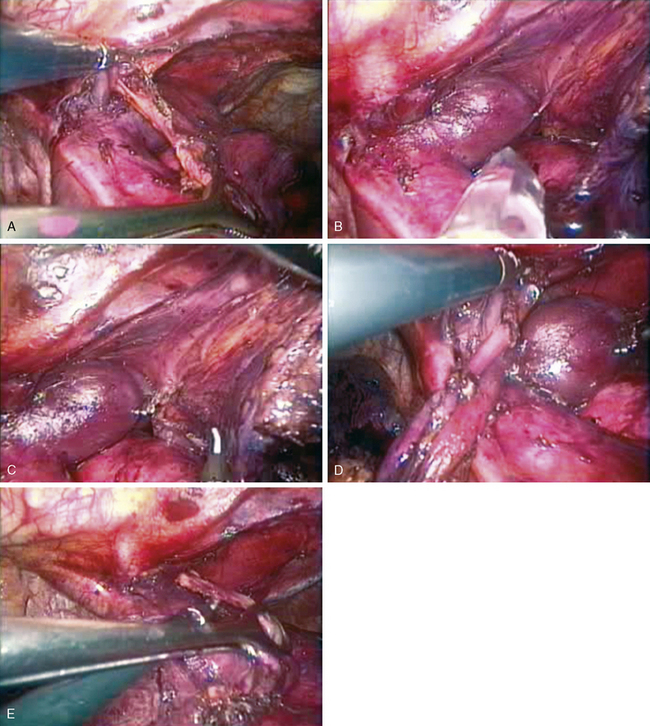
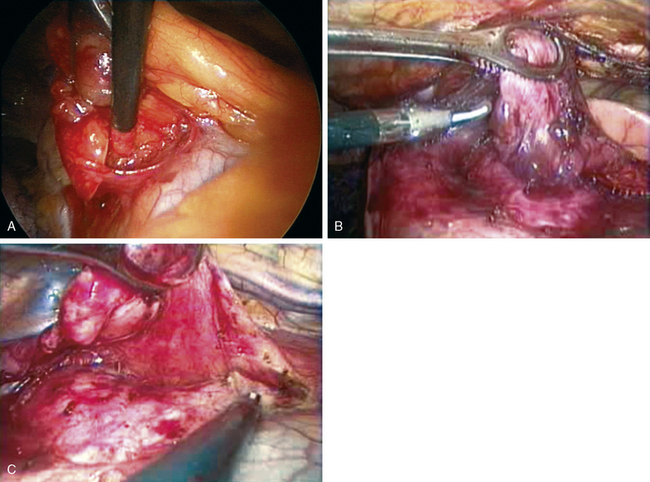
Step 3. Dissection of the Right Lower Pole of the Thymus
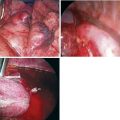
♦ A ring forceps through incision 2 holds the thymus as the Endokittner (Ethicon Endosurgery, Cincinnati, Ohio) bluntly sweeps the right pole of the thymus from the pericardium (Figure 25-3A).
♦ If vascular adhesions are encountered, use the Harmonic scalpel (Ethicon Endosurgery) to control them (Figure 25-3B).
Step 4. Dissection of the Left Lower Pole of the Thymus
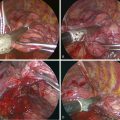
♦ At level of sternum, bluntly create the plane between peristernal tissue (including the mammary pedicle) and the left-sided mediastinal pleura.
♦ When mediastinal pleura is clearly identified over the left lung, open the pleura with the Harmonic scalpel (Figure 25-4A and B).
♦ After the left thymic pole is clearly identified, begin dissection along medial left diaphragmatic surface, including the diaphragmatic fat, to ensure that the entire thymus is resected.
♦ Use Harmonic scalpel to open the mediastinal pleura 2 mm anterior to the left phrenic pedicle (i.e., similar to dissection on right side) (Figure 25-4C).
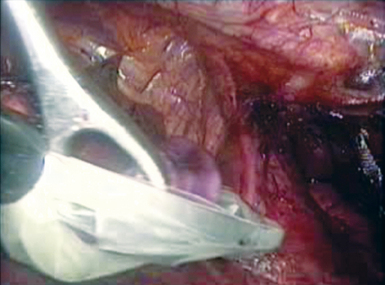
♦ If there is any issue regarding visualization of the left phrenic pedicle add 4th port in left 7th intercostal space in anterior clavicular line. Put camera in this port and ask anesthesiologists to intermittently hold ventilation to visualize structures (this is necessary <20% of the time) (Figure 25-4E).
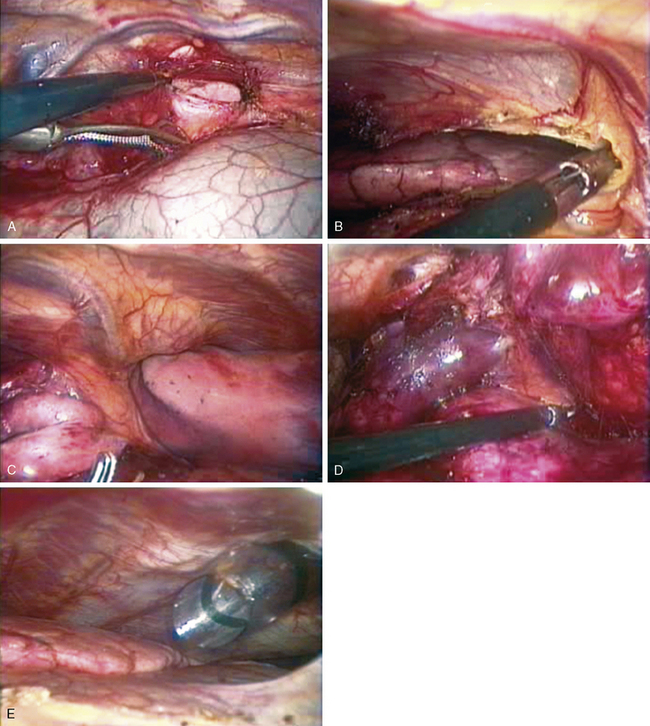
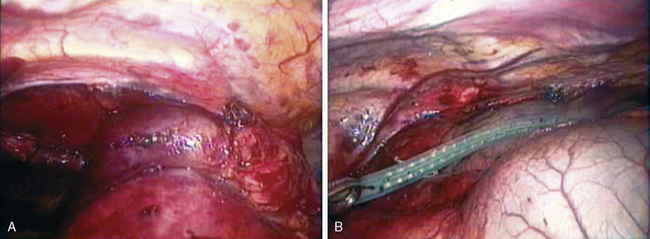
Step 5. Identification of the Cervical Thymic Poles Superficial and Superior to the Left Innominate Vein
♦ Open the fascial layer over the left and right cervical thymic poles, and begin blunt dissection with the Endokittner (Figure 25-5A).
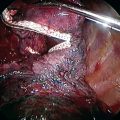
♦ When the poles have been brought down to the level of the innominate vein, identify the draining veins of the body of the thymus into the innominate, and divide these veins with the Harmonic scalpel, or clip and cut them (depending on the surgeon’s preference) (Figure 25-5B and C).
♦ Occasionally, the right internal mammary vein at the juncture with the innominate vein prevents visualization of the cervical thymic poles. It can be clipped and divided to open up the space into the neck.