CHAPTER 23 Video-Assisted Esophageal Mobilization—Video 23
Approach to Video-Assisted Esophageal Mobilization
 Video-Assisted Esophageal Mobilization (Video 23)
Step 1. Esophagoscopy and Positioning
♦ With the patient asleep and in the supine position on the gurney, perform esophagogastroduodenoscopy.
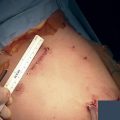
♦ Move the patient in the prone position on the operating room table. Place a roll vertically under the sternum to lift the patient off the operating room table so skin preparation can include the entire posterior chest. On the right side, the preparation extends anterior to the anterior axillary line.
Step 2. Incisions
Step 3. Anterior Esophageal Dissection
♦ Through incision 2, pass the Harmonic scalpel or electrocautery to cut the inferior pulmonary ligament as a grasper pulls the ligament anteriorly and superiorly.
Step 4. Posterior Esophageal Dissection
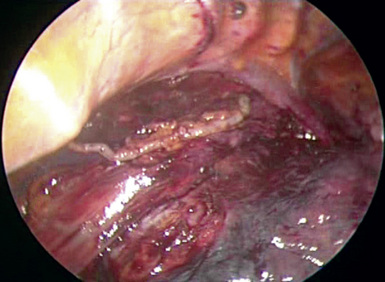
♦ The esophagus is then allowed to drop anteriorly, and the aorta can be seen. Continue dissecting along the surface of the aorta. Identify small arterial branches from the aorta to the esophagus, and clip or seal them with the Harmonic scalpel. The midportion of the esophagus is completely mobilized; continue the dissection toward the diaphragm.
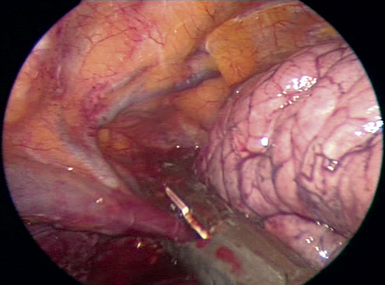
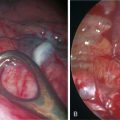
♦ Dissect the pleura by the distal esophagus parallel to the diaphragm. Clip the thoracic duct with a large endoscopic clip passed through incision 2 (Figure 23-2).
Step 5. Dissection of the Proximal Esophagus
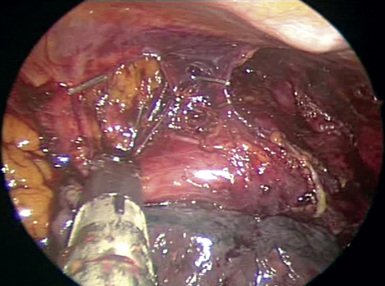
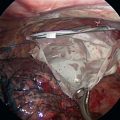
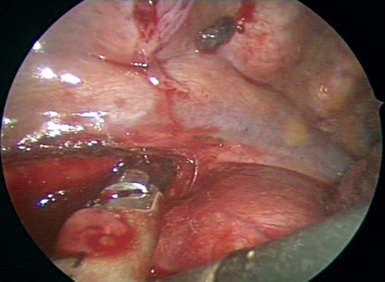
♦ With the Harmonic scalpel, mobilize the azygous vein as it courses anteriorly toward the superior vena cava. When it is fully mobilized, transect the azygous vein with a stapler from incision 2 (Figure 23-4).
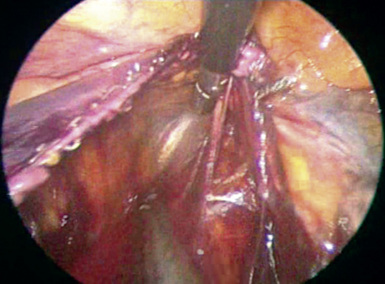
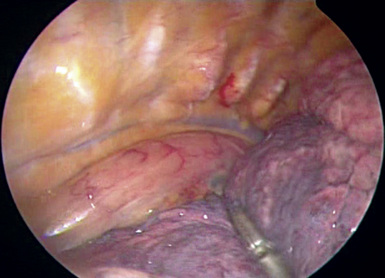
♦ With a grasper through incision 3, elevate the esophagus from the posterior wall of the trachea so the Harmonic scalpel can incise the pleura and the remainder of the anterior aspect of the esophagus (Figure 23-5).