[level-membership-for-anesthesiology-category]
CHAPTER 3 Simulation Equipment
Some equipment malfunctions are more vexing than others.
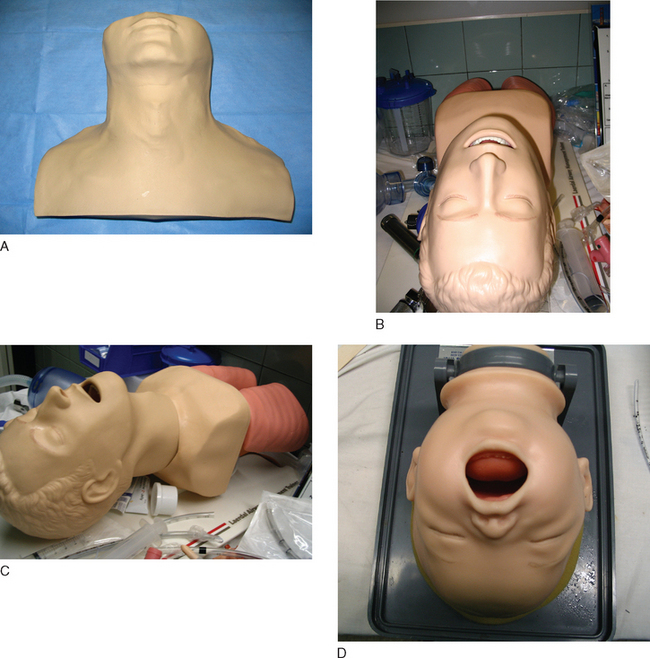
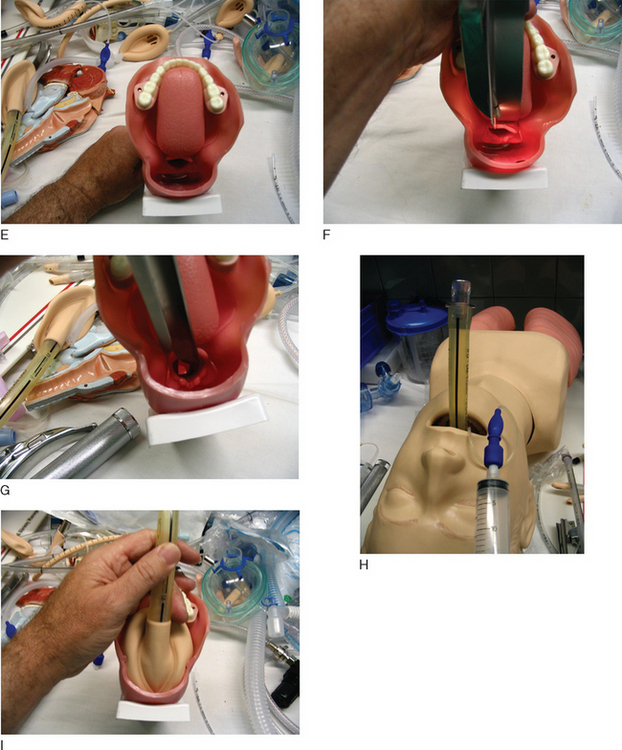
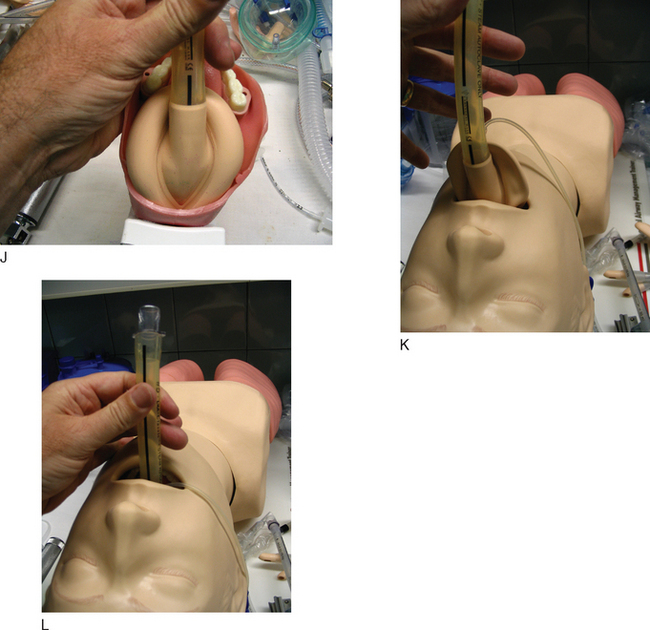
PARTIAL TASK TRAINERS
So there’s no shortage of gizmos and gadgets to train doctors in doing specific tasks. As noted in the last item—interventional cardiology simulator—there are also a host of “flat screen computer simulators.” You can interview a patient, order tests, run codes, examine lab tests. What can’t you do on a computer?
Room 7 opens up another consideration in the “perfect simulation center”—standardized patients.
A standardized patient is an actor who plays out a role from a script. This script can detail any aspect you want a resident to learn about:
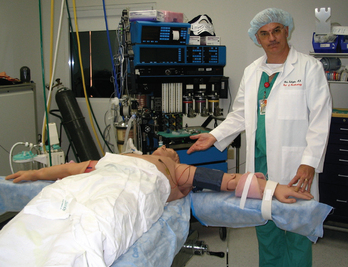
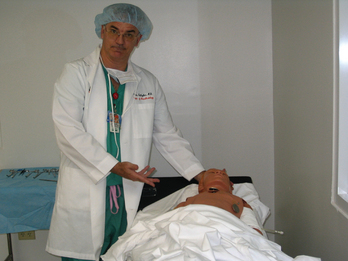
Simulation centers do not live on mannequins alone.
You will still see some of these sturdy players out there.
These anesthesia simulators are no longer made or serviced; they are (dab your eyes here) “orphan simulators.” MEDSIM Eagle doesn’t even exist anymore; the company is now just MEDSIM, and they only make ultrasound simulators. (You can try contacting the company (www.medsim.com), but don’t be surprised if no one knows what you are talking about when you mention their simulator.)
The two players: METI (Sarasota, FL; www.meti.com) and Laerdal (Denmark; www.Laerdal.com).
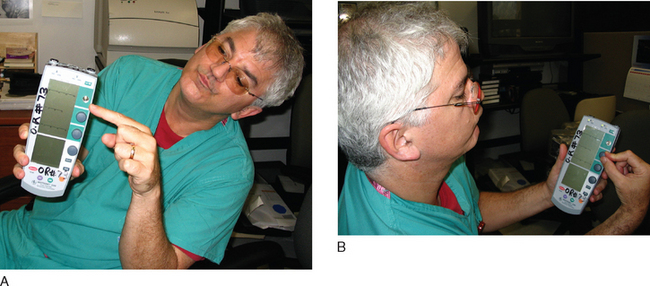
DRUG RECOGNITION SYSTEM
One Step Removed from Direct Vital Sign Changes
One Button Pushed and the Scenario Runs
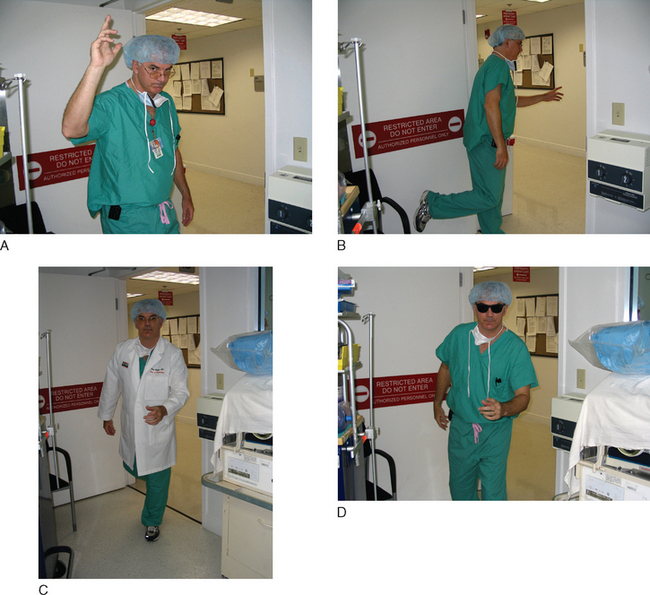
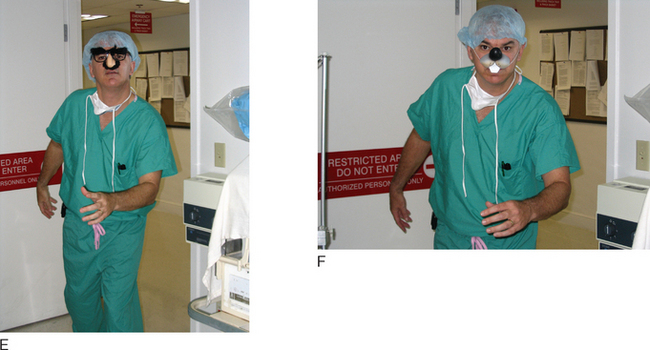
Eyeballs

Cost
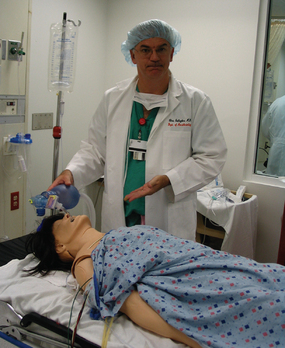
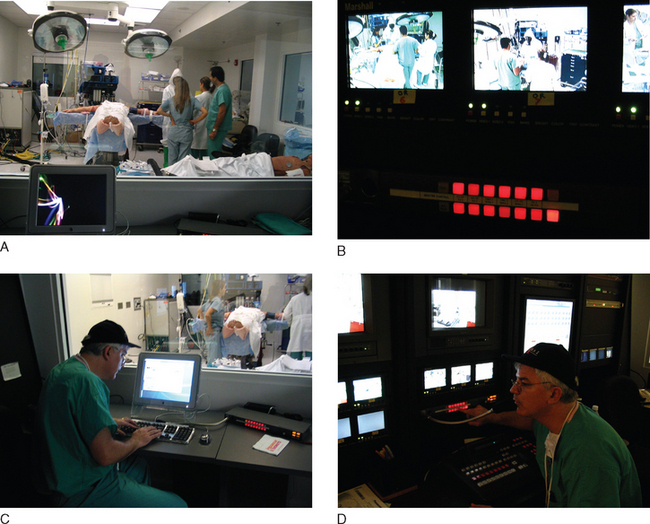
Once you have the simulator mannequin, you need a “place” to make it all happen. The Simulator is theater, and theater needs props. We need both medical props to create the medical “feel” as well as stage props to help achieve the “suspension of disbelief” so crucial to the Simulator experience.
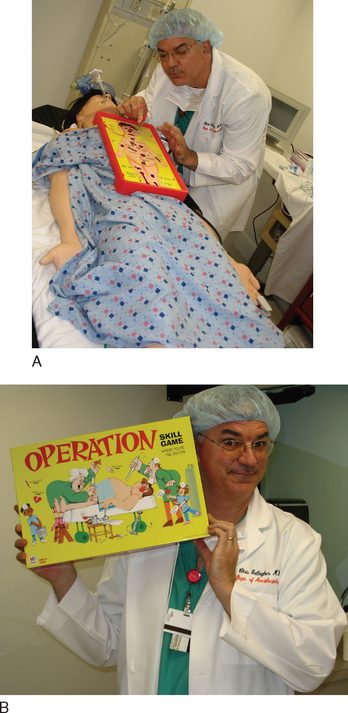
Theater Props
How do you actually punch things into the simulator to make all this stuff happen? How do you “make the blood pressure go down” and “elevate the ST segments” and “fibrillate” the patient?
The short answer is—you get trained by the METI or Laerdal people.
This chapter alone cannot teach you all the steps and intricacies of running the simulator computer. But if we run through some real examples, you can get a feel for it.
Two simulators, the METI and the Laerdal, are mentioned (more on both of them in the next chapter).
METI SIMULATOR, CANNED SCENARIO, ALLERGIC REACTION, SIMPLEST POSSIBLE
Built into the machine is the “allergic reaction scenario.”
What does the computer have and what does it do?
Allergic reaction resolves. If at any point, the student gives epinephrine 10 μg (1 cc of a dilute mixture; in reality, water in a syringe that has the bar code for “epinephrine, 10 μg/cc), everything goes back to normal.
What Might the Residents Do?
METI SIMULATOR, IMPROVISED SCENARIO, BLEEDING
Can you program in a bleed? Yes! You could set up a preprogrammed scenario, just like the first one.
METI SIMULATOR, CANNED SCENARIO—BLEEDING—WITH COMPLICATING FACTORS
All of these maneuvers have now made the patient that much “sicker,” so he is harder to ventilate, harder to resuscitate, and more likely to develop ST changes indicative of ischemia. Now, you can go through the same bleeding scenario but get in more trouble earlier.
What about the less technically adept but more affordable Laerdal?
LAERDAL SIMULATOR, CANNED SCENARIO—VENTRICULAR FIBRILLATION
You call students into a code.
What Do the Students Do?
LAERDAL SIMULATOR, ON-THE-FLY SCENARIO—RIGHT MAINSTEM INTUBATION
What Do the Residents Do?
METI SIMULATOR, ON-THE-FLY—RIGHT MAINSTEM INTUBATION
You call in the residents to relieve on a case. Tricky you, you have placed the endotracheal tube in the right mainstem. The METI has no way of “knowing this” and so to decrease the saturation, you must program that in, which you do, but you can’t do it directly, and this is the headache. This is the big, big, big difference. You have to increase the shunt fraction or increase the O2 consumption (or both, if you want to). What a pain in the ass! Instead of just punching in “Saturation 92%,” you have to “program the physiology to create the number.” No surprise, then, that when you do this on the fly you can easily overshoot or undershoot. All this “programming in the physiology” is great when you generate a programmed scenario well ahead of time. But when you’re sitting there and just want the damned sat to go to 92% right now, the METI can be maddening.

What Do the Residents Do?
To further illustrate the way the METI and the Laerdal models work, I draw on scenarios right from this book. Chapter 8 has 50 scenarios, each about four pages long. Each scenario is meant to focus on one or two main teaching points. Here I go through the first 20 scenarios and include all the “computer commands” for the simulators. Some scenarios use the METI, some the Laerdal, so you’ll be able to see each in action. You will notice a few things.
Caution:
This is damned dreary! These are listed just to show you the “technical steps” you go through in a scenario. In Chapter 8 these will all come to life, so keep the faith!
SCENARIO 10.
SCENARIO 15.
SCENARIO 20.
Muscular dystrophy and the need for a pacer.
After a while, we got comfortable enough to do simple things, then branched out. Later, our department got a Laerdal, an entire floor of a building as a Safety Center, and the most important element— a technician who actually knew what he was doing! (Ilya Shekhter, who provided all the technical help on this and other chapters.) Now, when we do simulations, Ilya does the technical programming, and I do the “in-the-room-medical-stuff.” To my mind, that is the best setup—a technician who knows the stuff inside and out (and, frankly, much better than I do)—and a medical instructor who knows the lesson to be learned.
Technician, plus equipment, plus teacher—that is the magic brew.
[/level-membership-for-anesthesiology-category][not-level-membership-for-anesthesiology-category]
CHAPTER 3 Simulation Equipment
Some equipment malfunctions are more vexing than others.
PARTIAL TASK TRAINERS
So there’s no shortage of gizmos and gadgets to train doctors in doing specific tasks. As noted in the last item—interventional cardiology simulator—there are also a host of “flat screen computer simulators.” You can interview a patient, order tests, run codes, examine lab tests. What can’t you do on a computer?
Room 7 opens up another consideration in the “perfect simulation center”—standardized patients.
A standardized patient is an actor who plays out a role from a script. This script can detail any aspect you want a resident to learn about:
Simulation centers do not live on mannequins alone.
You will still see some of these sturdy players out there.
These anesthesia simulators are no longer made or serviced; they are (dab your eyes here) “orphan simulators.” MEDSIM Eagle doesn’t even exist anymore; the company is now just MEDSIM, and they only make ultrasound simulators. (You can try contacting the company (www.medsim.com), but don’t be surprised if no one knows what you are talking about when you mention their simulator.)
The two players: METI (Sarasota, FL; www.meti.com) and Laerdal (Denmark; www.Laerdal.com).
DRUG RECOGNITION SYSTEM
One Step Removed from Direct Vital Sign Changes
One Button Pushed and the Scenario Runs
Eyeballs
Cost
Once you have the simulator mannequin, you need a “place” to make it all happen. The Simulator is theater, and theater needs props. We need both medical props to create the medical “feel” as well as stage props to help achieve the “suspension of disbelief” so crucial to the Simulator experience.
