CHAPTER 17 Lingulectomy—Video 17
Introduction
The anatomy of the lingua is consistent, and this operation is usually straightforward.
 Video-Assisted Lingulectomy (Video 17)
Step 2. Resection of Level 5 and 6 Nodes
♦ The nodes are resected as for a left upper lobectomy (see Figure 11-1 in Chapter 11). This helps to define the anatomy of the superior pulmonary vein and branches.
Step 3. Lingular Vein
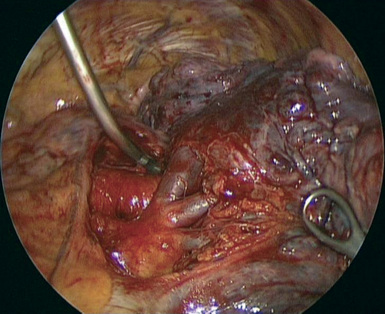
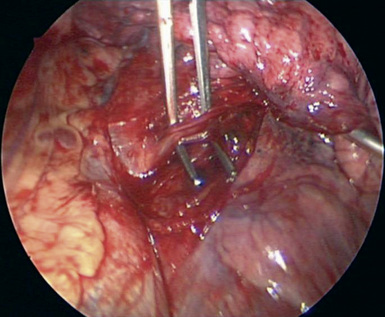
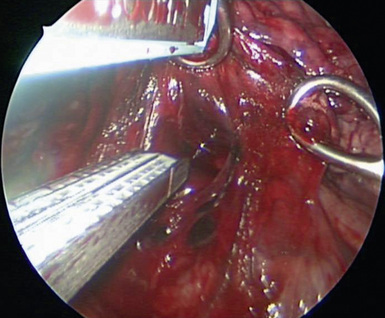
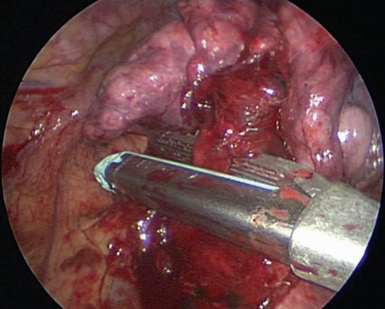
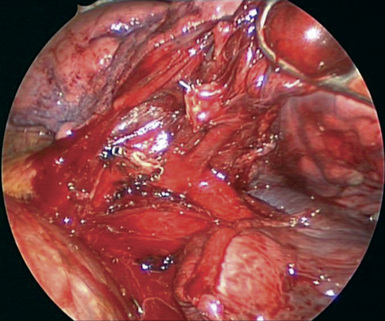
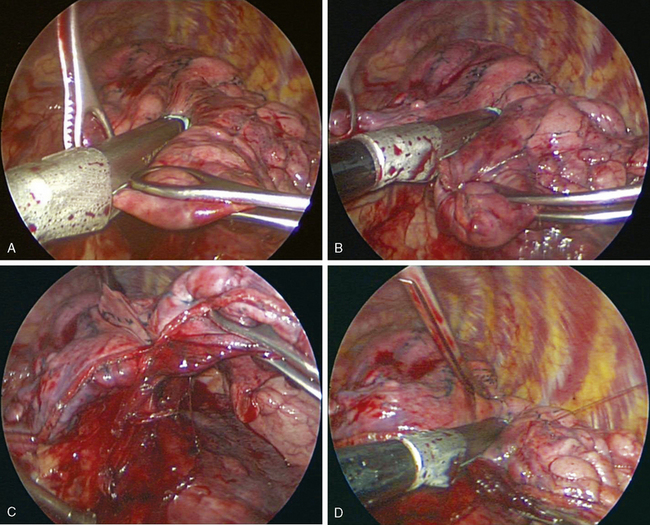
♦ Through incision 3, dissect the vein from the lingula with DeBakey pickups and Metzenbaum scissors (Figure 17-1). Through the anterior incision, pass the right-angle clamp behind the vein, and spread it widely (Figure 17-2).
Step 4. Complete the Fissure
♦ Exposure: Return the lung to its normal anatomic position. Through the posterior incision, retract the lower lobe posteriorly and inferiorly. Through the utility incision, retract the upper lobe anteriorly and superiorly.
♦ If the fissure is incomplete, as is often the case, complete it with the stapler through incision 1. The stapler is well away from pulmonary artery (PA) in patients with an incomplete fissure.
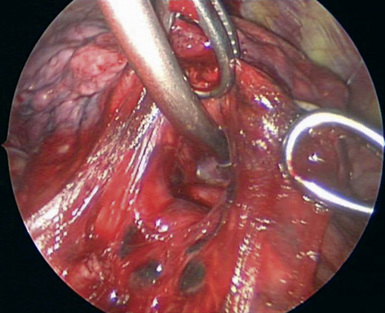
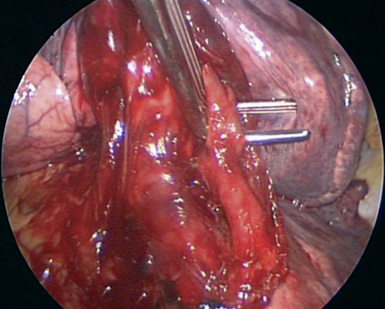
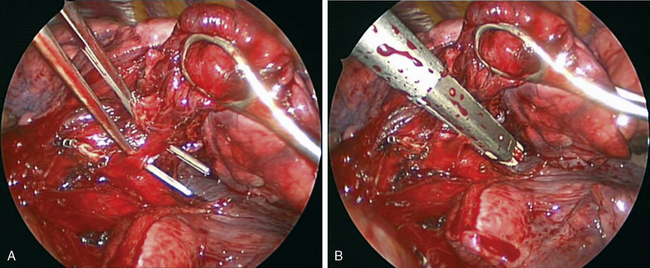
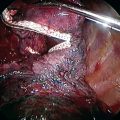
♦ Lift the lung parenchyma of the incomplete fissure away from the surface of the artery with a ring forceps (Figure 17-4).
♦ Identify the left upper lobe and the left lower lobe bronchi. Remove lymph nodes between the bronchi to expose the PA, which runs parallel to and on the surface of the left lower lobe bronchus.
♦ With Metzenbaum scissors through incision 1, dissect on the surface of the PA to create a tunnel. Dissect on the lateral surface of the PA. As the dissection progresses, identify the lingular and posterior ascending arteries on the superior aspect of the PA. On the inferior side of the PA is the artery to the superior segment of the left lower lobe.
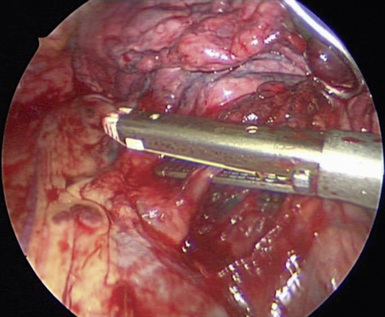
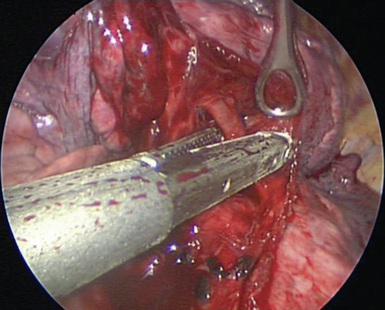
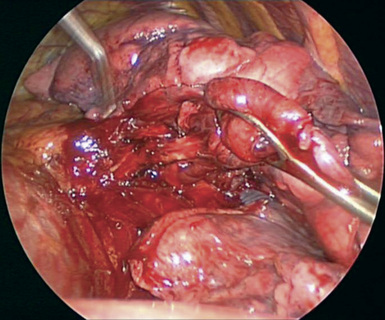
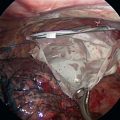
♦ Continue the dissection to just above the lingular artery. Complete the fissure with the stapler; the anvil of the stapler is placed into the tunnel and rests on the surface of the artery. Once in position, the stapler is not moved. This is a key maneuver (Figure 17-5).
♦ While the stapler is held in position, pull the lung parenchyma into the stapler with the ring forceps on the upper and lower lobes. Usually, a 4.8-mm stapler completes the fissure to just beyond the lingular artery. Use an avascular stapler for a thin fissure.
♦ This process of opening the fissure by creating the tunnel is repeated until the fissure is completed beyond the lingular artery.
Step 5. Lingular Artery
♦ Exposure: Retract the upper lobe superiorly and apically with a ring forceps through the anterior incision.
Step 6. Lingular Bronchus
♦ Aim the thoracoscope anteriorly and slightly medially, and point the lens toward the mediastinum and slightly posteriorly.
Step 7. Additional Lingular Artery
♦ Aim the thoracoscope anteriorly and slightly medially, and point the lens toward the mediastinum and slightly posteriorly.
♦ An additional lingular artery may need to be taken, especially if the tumor is superiorly located in the lingula.
♦ With a right-angle clamp, complete the mobilization of the artery (Figure 17-10). Use the stapler through the inferior incision to transect the artery (Figure 17-11).
Step 8. Fissure
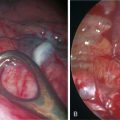
♦ There is usually a small indentation on the medial surface of the left upper lobe to mark the separation between the lingula and the upper division of the upper lobe (Figure 17-12).
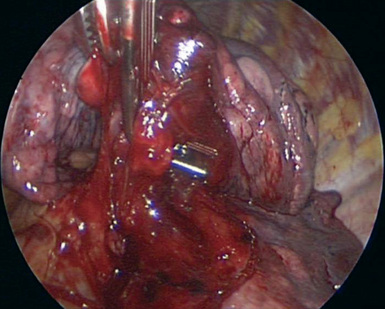
♦ Complete the fissure with the stapler through the utility incision. The use of this incision allows the stapler to pass perpendicularly across the lobe between the lingula and the upper division. Before firing the stapler, make sure the vein and bronchus for the upper division are not compromised (Figure 17-13).

