CHAPTER 1 How to look at a chest X-ray
1.1 Basic interpretation is easy
Chapters 4 and Chapter 9 will take you through how to interpret your findings.
1.2 Technical quality

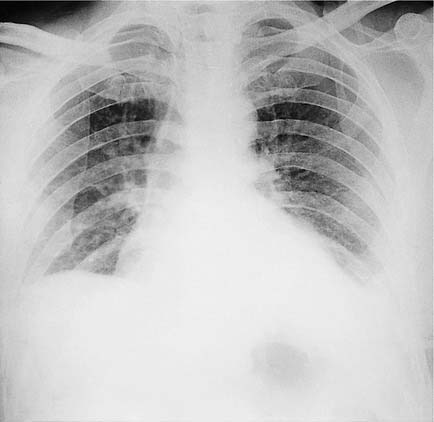
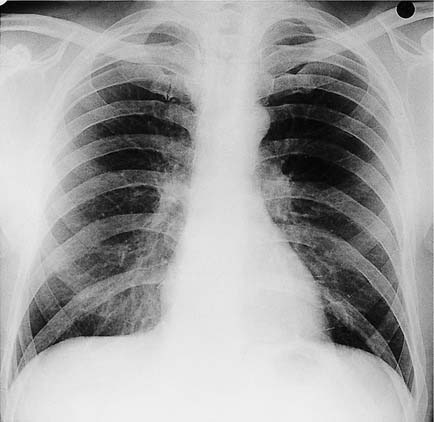
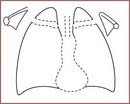
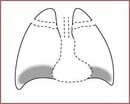
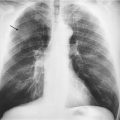
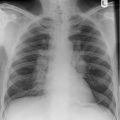
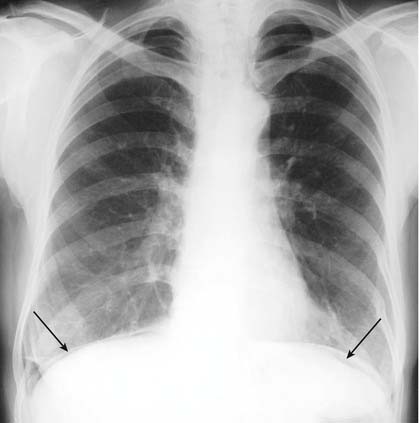
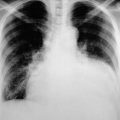
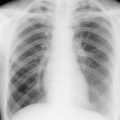
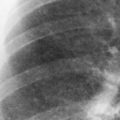
Films on pages 6 and 7 show the effects of respiration. The above film is taken with a poor inspiration, and page 7 with a good inspiration. Note how the lung bases look whiter, and the heart size appears larger.

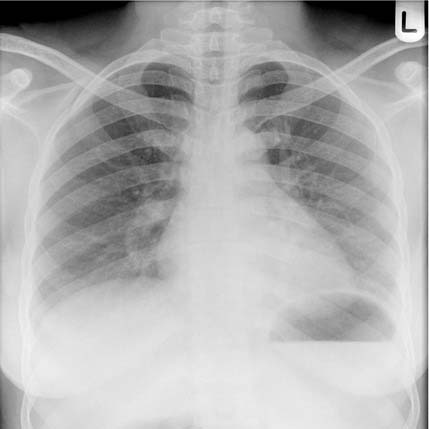
Always check the technical quality of any film before interpreting it further. To do this you need to examine in turn the projection, orientation, rotation, penetration and degree of inspiration. Problems with any of these can make interpretation difficult and unless you check the technical quality carefully you may misinterpret the film.
Rotation
A patient with a thoracic scoliosis may appear to have a rotated film. Check whether the spinous processes on the vertebral column are aligned. If they are it is more likely that the patient is rotated.
1.3 Scanning the PA film
If you are looking at a printed film find a decent viewing box with a functioning light that does not flicker. If possible lower the ambient lighting.
Look for any discrete or generalized shadows. These are described in Chapter 4 – The white lung field. Remember that the shadows that appear to be in the lung can represent abnormalities anywhere from the patient’s clothing and jewellery inwards.
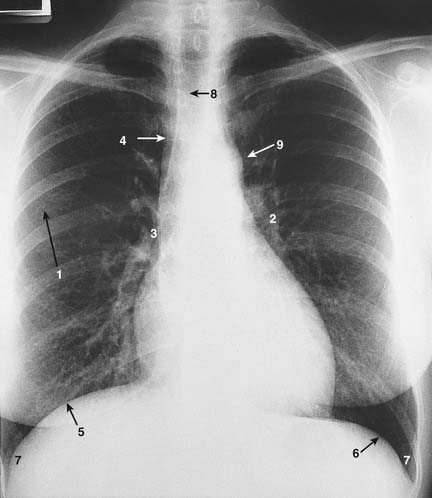
Look also at the right side of the trachea. The white edge of the trachea (4) should be less than 2–3 mm wide on an erect film. (See Chapter 8 for interpretation.)
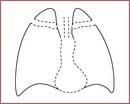
1.4 How to look at the lateral film
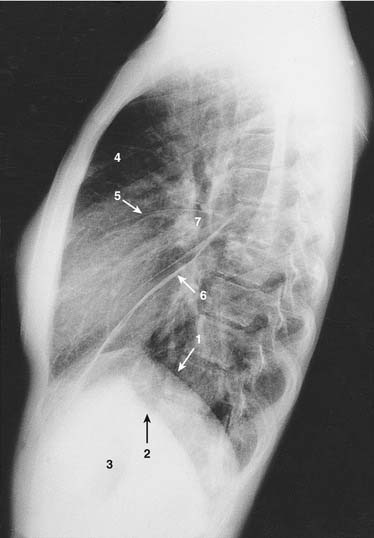
A lateral chest X-ray can be taken with either the right or left side of the patient against the film. Do not worry about which way it has been taken since for all but the most subtle signs it makes little difference. It is useful to get into the habit of always looking at the film the same way and we suggest looking at the film with the vertebral column on the right and the front of the chest on the left. Once you have done this: