[level-membership-for-cardiothoracic-surgery-category]
CHAPTER 32 Diaphragmatic Plication—Video 32
Approach to Video-Assisted Diaphragmatic Plication
 Video-Assisted Diaphragmatic Plication
Step 1. Incisions
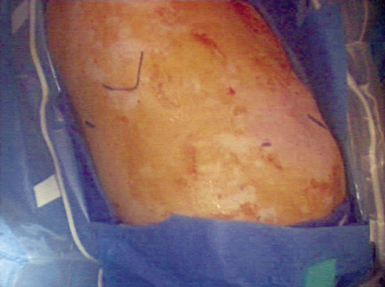
♦ Exposure: The procedure is usually performed through three incisions (Figure 32-1) (see Video 32-1).
♦ Incision 1: Make a 2-cm incision in the mid-clavicular line in about the sixth intercostal space. This is usually one space below the mammary crease. This incision is used for suturing the diaphragm.
♦ Incision 2: Make a 1-cm incision (used for the trocar and thoracoscope) in the mid-axillary line in the eighth intercostal space. Although we normally use a short reusable trocar for this procedure, we typically use a longer disposable trocar because the diaphragm touches the lens until it is pushed caudally and plicated. Initially, the incision seems too low because the diaphragm is so high, but the low positioning of the thoracoscope helps in creating a very tight plication with maximal downward displacement of the paralyzed diaphragm.
Step 2. Pressure on the Diaphragm
Step 3. Plication of the Diaphragm
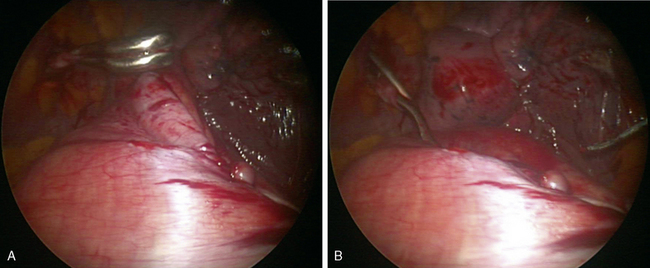
♦ Pass a needle driver with 0 Prolene suture or the Endostitch (Covidien, Norwalk, Conn) through the mid-clavicular line to start the plication anteriorly (Figure 32-3).
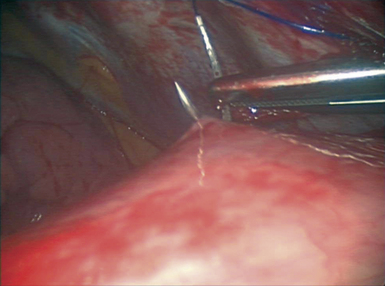
♦ Suturing proceeds anteromedially to posterolaterally. The suture grabs a 1-cm purchase of the diaphragm on both sides of the indented diaphragm. Tie the suture extracorporeally, and pull the tail through incision 1. Retract the tail of the suture to help with exposure.
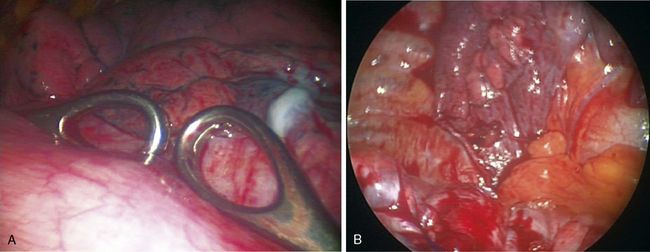
♦ As the plication proceeds, compress areas of the diaphragm with a ring forceps from a posterior direction. Multiple layers of suture are placed so the first layer creates a small plication.
♦ The suture is run anteriorly to posteriorly and then back anteriorly to be tied to the tail of the suture.
[/level-membership-for-cardiothoracic-surgery-category][not-level-membership-for-cardiothoracic-surgery-category]
CHAPTER 32 Diaphragmatic Plication—Video 32
